 These tiny skulls are fairly easy to make and have many uses in my D&D game. I've used them to make a flameskull, convert minis into skeletons, decorate bloodstained altars, and provide some atmosphere in lairs. I start with white polymer clay. It's cheap and available at any craft store and most big box stores. The only tools I use for sculpting these skulls are a flat-head sewing pin, a pinch of poster adhesive putty, and a wine cork. Full instructions with pictures are below the break.
I start by sticking the poster putty to a wine cork for easy handling. You can use any soda cap, jar lid or pill bottle. Using a ball bearing (or any rounded object), make an indentation in the putty.


Roll a small piece of clay into a ball and place it into the indentation.
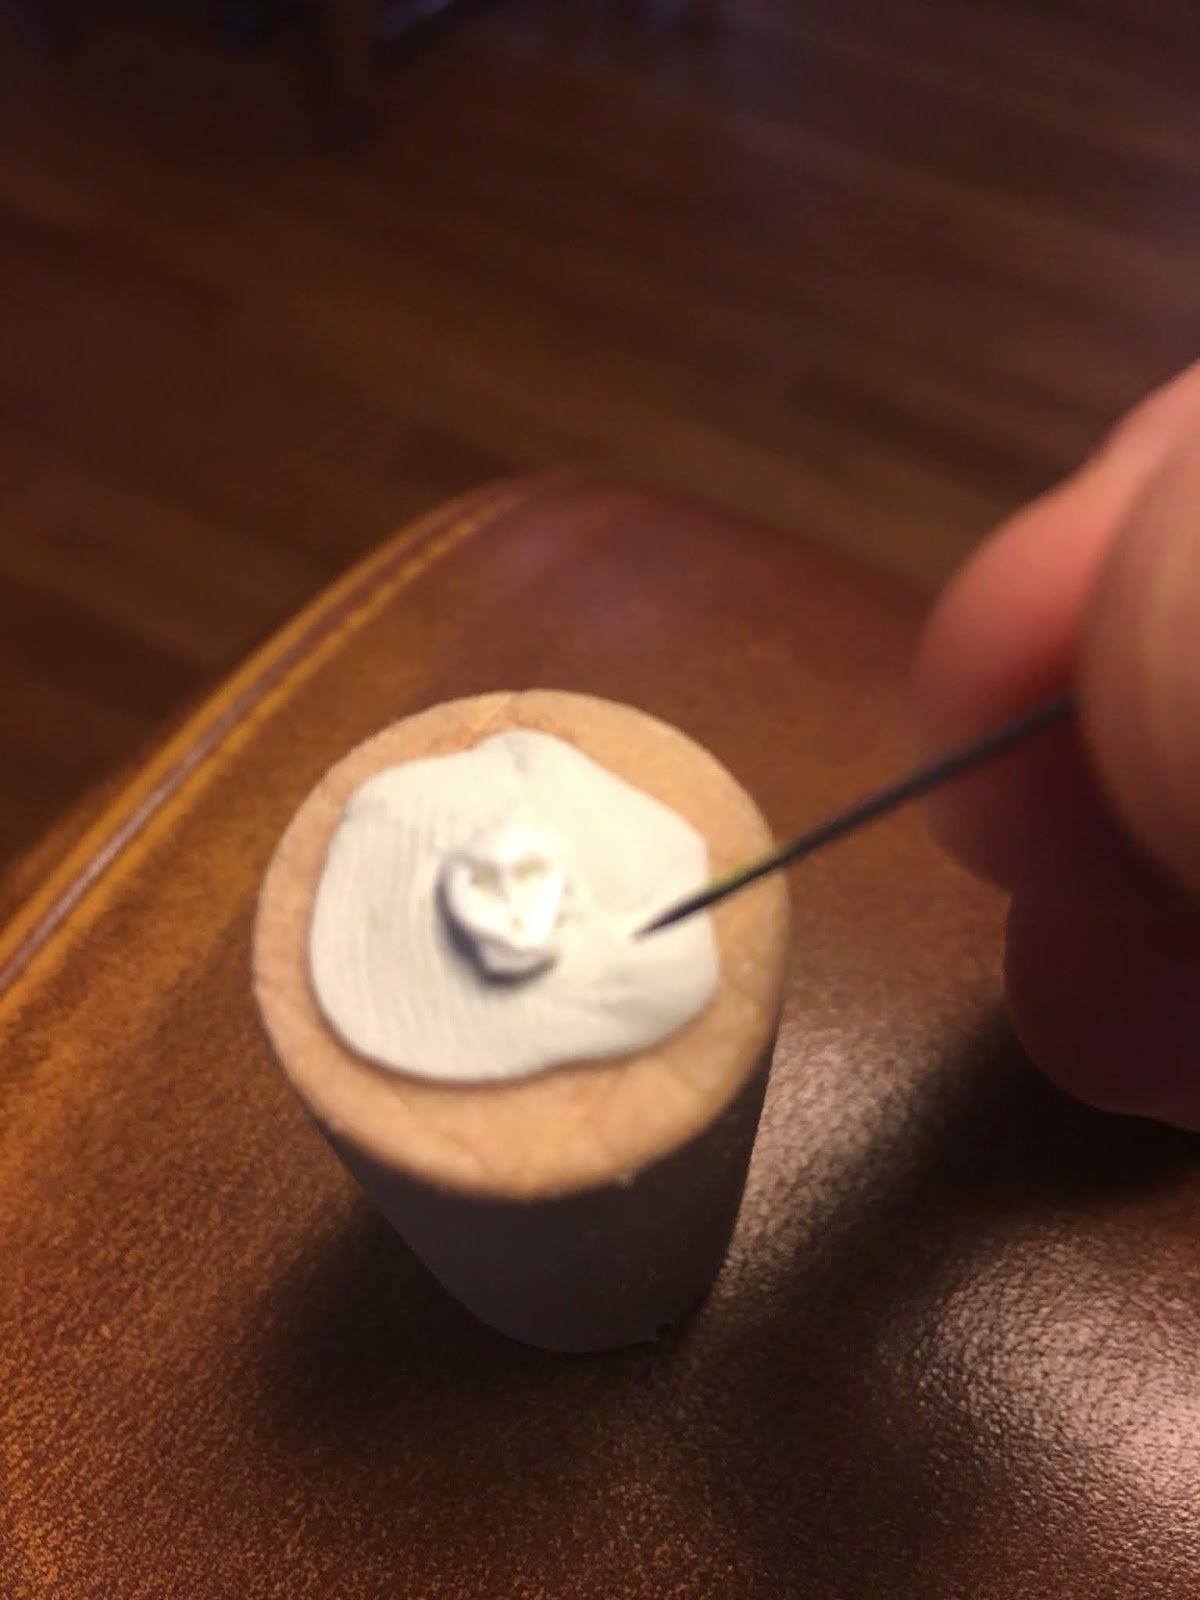
Form the eyes in the middle of the ball by using the flat end of your pin. The eyes should be very close together. Shape and deepen the eye sockets with the pointed tip of the pin.
Using the tip of the pin, pull up some of the clay from the back of the bottom of the sphere to make the chin. Shape the chin with the flat head of the pin.
Poke an elongated hole for the nose socket with the point. Lightly drag the point across the mouth, then repeatedly prick the clay above and below the mouth to form teeth. Gently loosen the skull from the putty (I've ruined several skulls with impatience here).
Bake the skulls according to directions on the polymer clay packaging. When the skulls are cooled, you can cut the back of the chins into shape with a hobby knife. I painted my skulls with a black wash and then a yellowish brown wash to simulate old bone. You can deepen the black in the eyes with acrylic paint, or give the eyes a fiery glow, as above.
No comments:
Post a Comment